Showing posts with label Chocolate Baroque. Show all posts

Monday, 26 December 2022

Chocolate Baroque December Cards

 Hello, I hope you all had a lovely Christmas and wish you a peaceful new year.


I am sharing the cards I made for the Chocolate Baroque shows on Create and Craft in December.

The stamps I have used are


Thanks for looking
Sandra


Tuesday, 24 May 2022

Life is Wonderful

 Hello, I am sharing some more of the Chocolate Baroque cards I made for the April shows on Create and Craft.


My first card uses a 6.5" square of smooth card stock. Using Memento ink I stamped the main image, the dragonflies and the sentiment from Life is Wonderful. I then coloured the images using alcohol markers in shades of Warm Grey and Cool Grey. I then mat and layered this onto some toning card and then onto an 8x8" base.


My second card uses very similar sizes of card, but this time I have used the Be at Peace stamp set. I decided to use some non traditional colours for a more fantasy feel.


 Thanks for looking

Sandra x

Saturday, 23 April 2022

Elemental

 Hello, I am sharing my third post of the month with you to show my Chocolate Baroque cards made for the Create and Craft shows in March.


I have used Floral Paraphernalia Elements and Out of the Trees Elements stamp sets. These really  compliment the main sets, but can also be used as stand alone sets.

For my first card I sprinkled some Turquoise Brusho down the edge of a card blank, lightly spritzed it  and left it to dry overnight. Once it was dry I stamped the Port Hole shapes and solid circles. I then stamped the floral and leaf stamps, masking where needed. I used pencils to colour in. I added some of the number stamps from the sets and a quote from Artistic Expressions.


Next I used the Element stamps to create a small scene. 
Starting from the "front" I stamped the stone wall. I then masked a small area so that I could stamp the deer behind the wall. I then masked the deer and stamped the treeline. I used a stencil to create some hills in the background and coloured with Distress Inks. I finished by adding the script stamp to the lower edge.


For my last card today I used my stamping platform to repeat stamp the flower and leaf stamps. I have then coloured using watercolour pencils and a little bit of Stickles. I die cut a couple of circles and added the word Joy from Artistic Expressions. 


Thanks for looking
Sandra x


Monday, 11 April 2022

Beautiful Collage Stamps

 Hello, I am sharing some more of my cards from the Chocolate Baroque March shows on Create and Craft.


All of my cards are made using Out of the Trees Slim Strip Stamp Set

I stamped the A4 stamp strip, which has some fabulous collage, detail onto some drawing cartridge.  I used my heat gun to dry the ink - Black Archival, and then sprinkled Black Brushos over the top. I then spritzed very lightly with water. I left it to dry naturally overnight and then blended Black Soot Distress Ink around the edges. I then mat and layered onto some white cardstock and then onto a black card base.


For my next card I made a Z card base. I cut some smaller pieces for the background layers and used Distress Inks to colour these. I stamped the Out of the Trees stamp onto some white card and coloured with watercolour markers. I added some extra dots from  Numerology  stamp set and the word Nature from Sow the Seeds set.


For my last card today I stamped the Out of the Trees stamp onto white card with black Archival ink and then die cut 3 pieces.  I then used an Accordion Die and cut 3 panels. I glued the stamped images to each panel and then glued the base together..... a bit fiddly, but it does look good on the mantlepiece!

 Thanks for looking

Sandra x

Sunday, 3 April 2022

Floral Elegance

 Hello, I am sharing some of my cards and makes from the Chocolate Baroque March shows on Create and Craft.


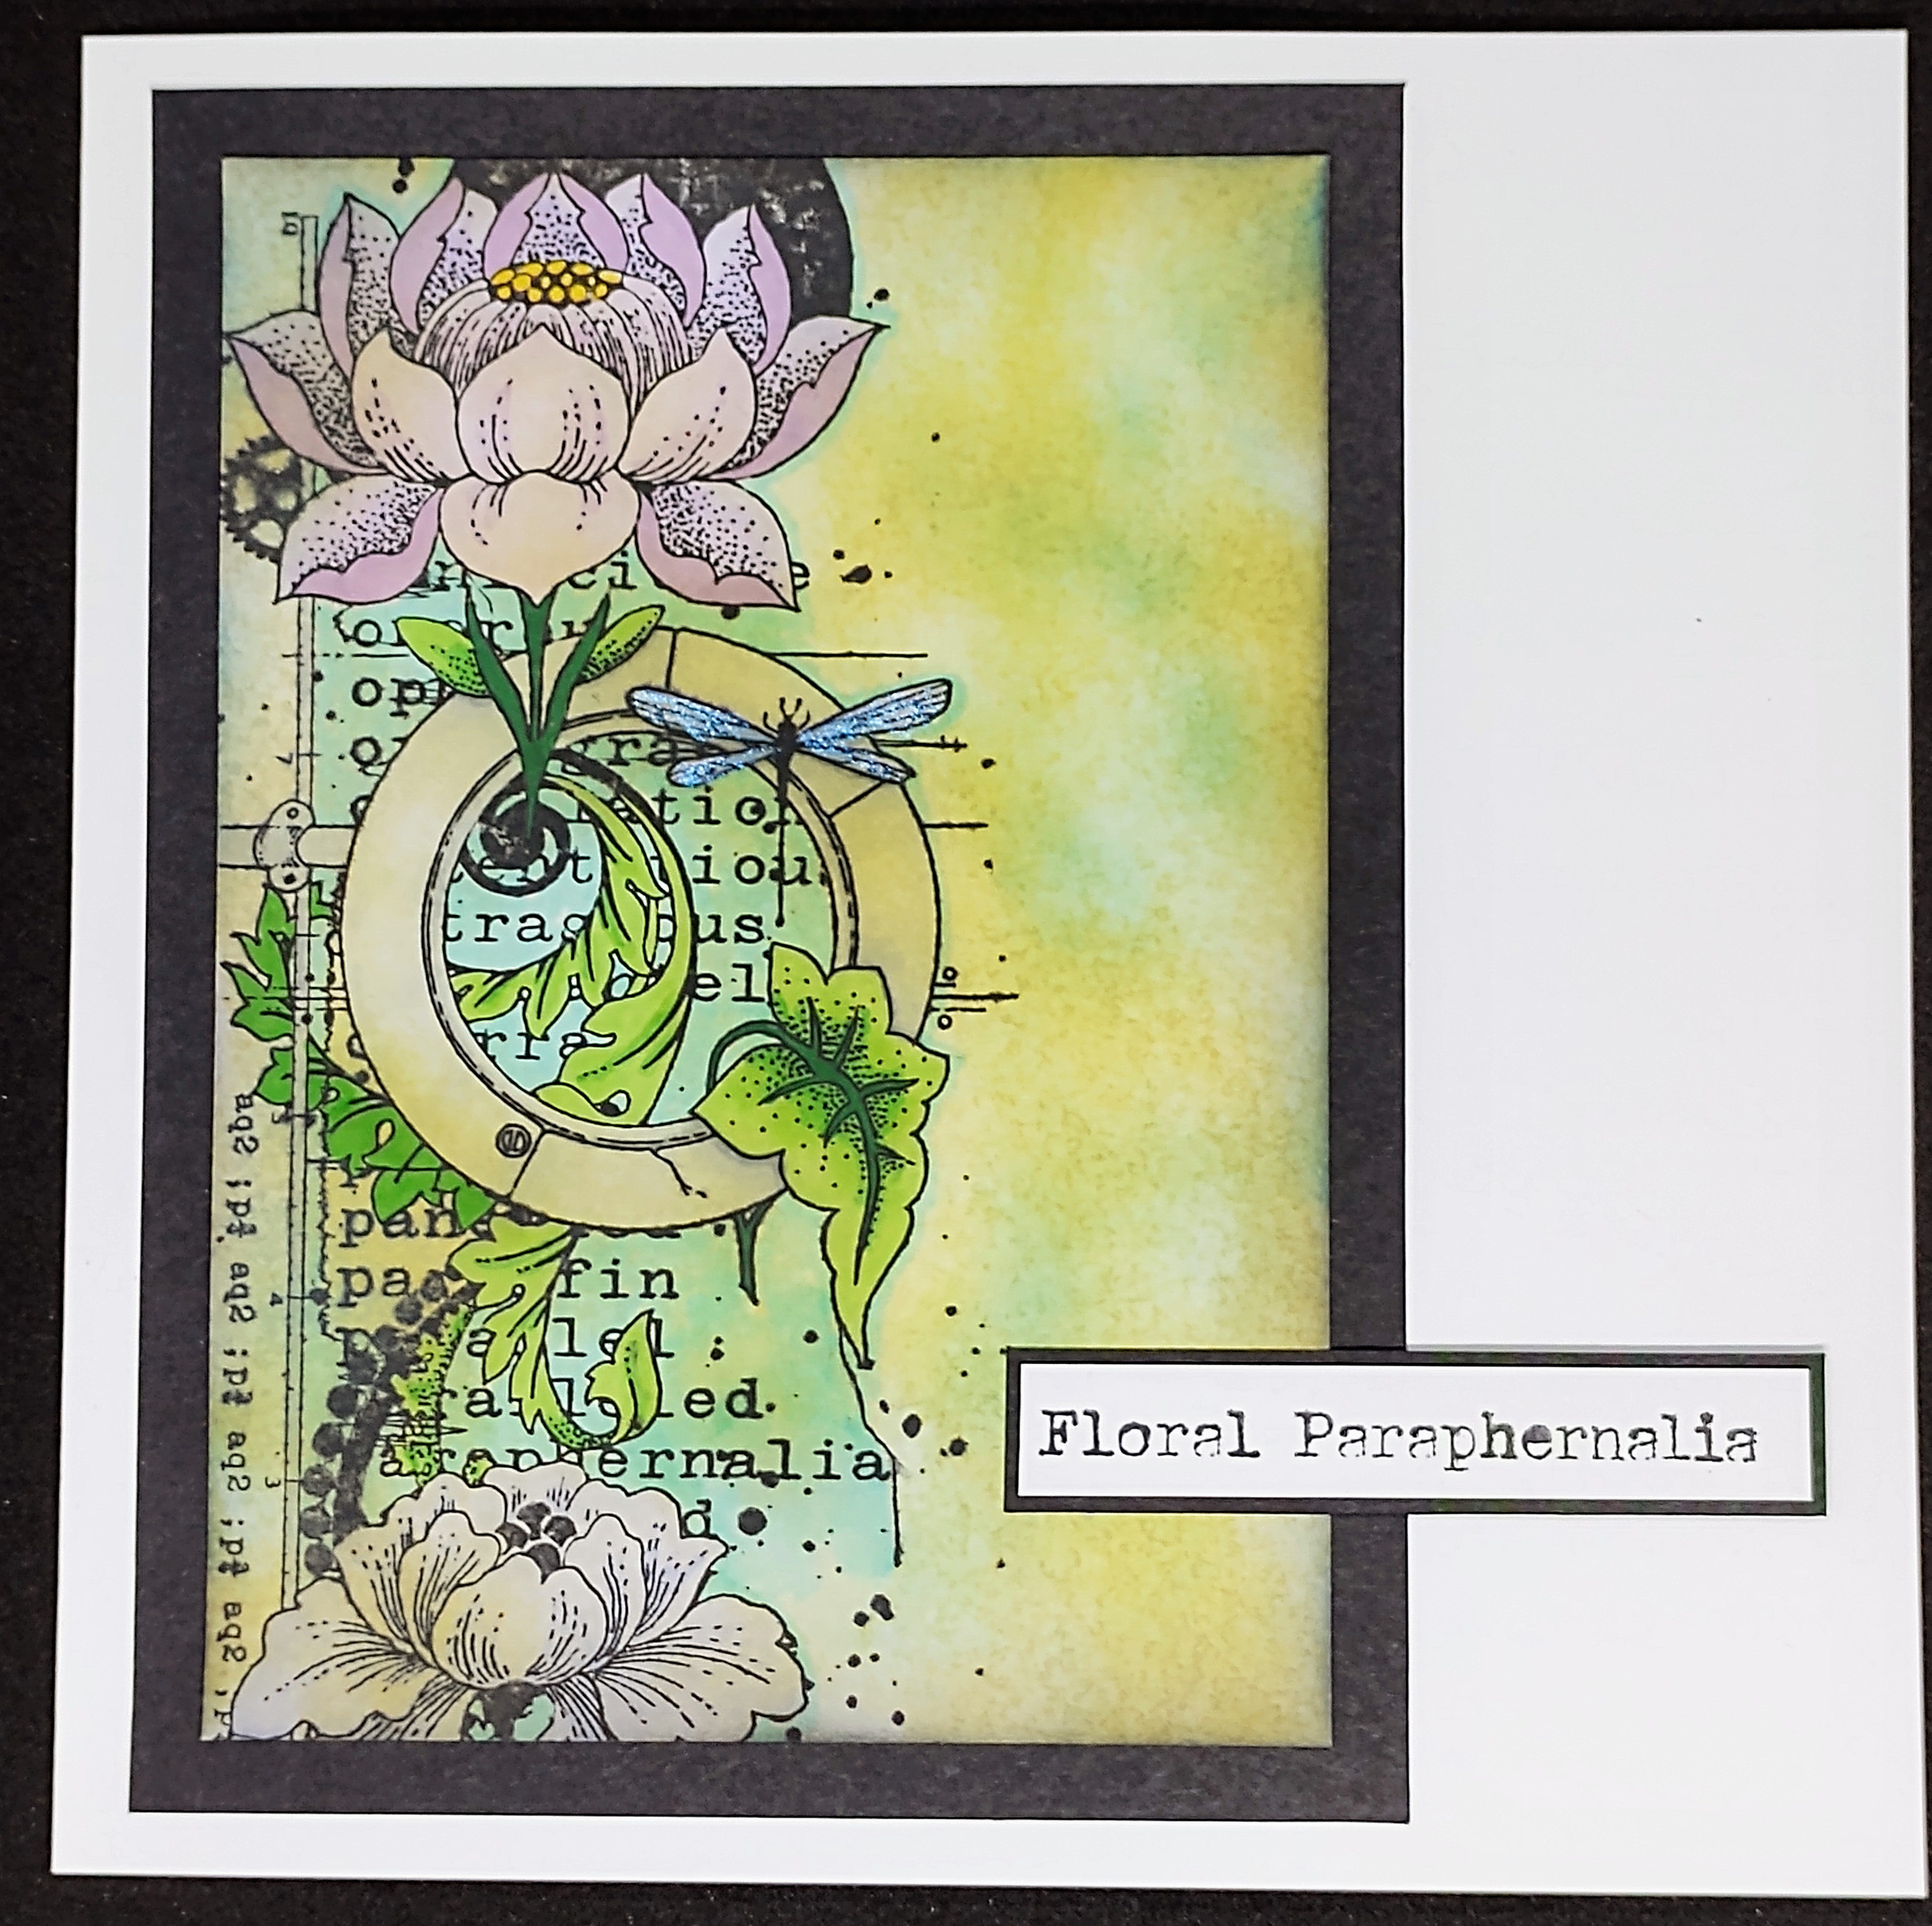
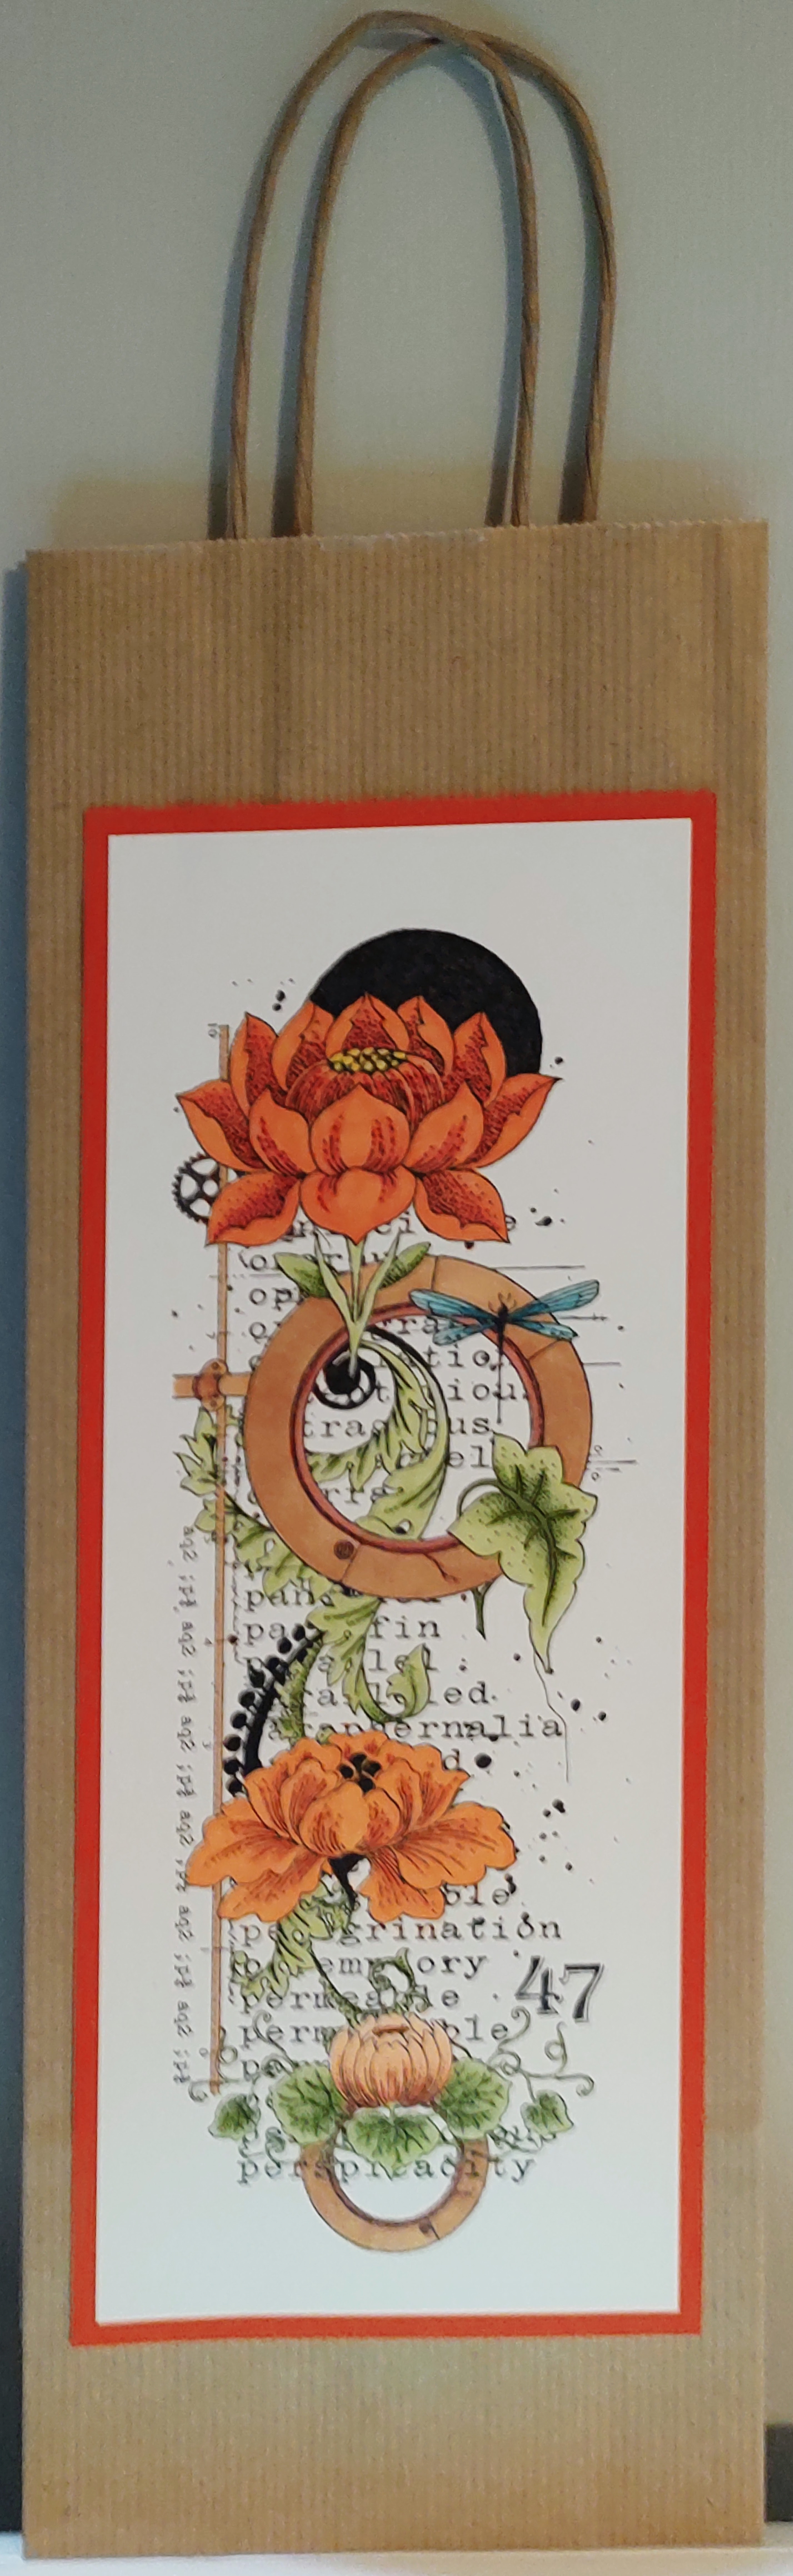
All of the cards feature the wonderful new stamp Floral Paraphernalia.

For my first card  I stamped the image which is A4 in length onto some black card with VersaMark ink. I then embossed with silver powder. I coloured the stamped image with shimmer paints and then layered onto some silver mirror card. I scored a piece of black card lengthways to make the card base.


For my second card I stamped part of the image onto a 7x7 Kraft card base using brown archival ink. I then coloured with pencils.


For my third card, I again just stamped part of the image onto some smooth card using black Memento Ink. I coloured the image with alcohol markers and then went over it with  Distress Inks to give a vintage look. I mat and layered onto black card and then onto a 8x8 card base. I added the sentiment from the set.


Next, I stamped in Black Memento and coloured with alcohol markers. I trimmed the base card and layered onto some orange card and adhered to the front of a Kraft bottle bag. I think it would make a lovely gift!


Finally I painted and distressed a piece of MDF and added pencil lines to look like wooden boards. I then stamped and embossed in gold.  I made a couple of holes at the top and threaded some twine through to make a hanging decoration.

 Thanks for looking

Sandra x

Friday, 25 March 2022

 Hello everyone

I am sharing some more of my cards from the February Chocolate Baroque shows on Create and Craft

 My first cards use stamps from Words of Comfort and Cheer.  

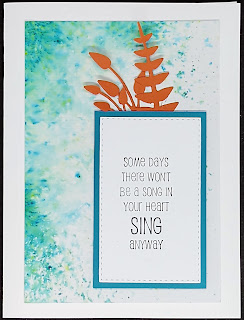
I started with an A4 sheet of watercolour card and sprinkled Brushos down the centre length ways and width ways. I then spritzed with water and let the magic happen! I left it to dry naturally as I think the colour stays more vibrant. Once it was dry I cut the sheet down into 4 pieces and added one of the sentiments from the set to each piece. I added some orange die cuts as a contrast to the Turquoise Brusho. 


My next card uses the Butterfly Mind stamp set.....one of my favourites. For this card I used some of the element stamps. First I stamped the film strip, butterflies and splatters. I then stamped, coloured and fussy cut some of the butterflies and layered over the stamped ones. I finished by adding a sentiment from the set..


On my next card I stamped some splatters  and the large butterfly from Butterfly Mind. I added some fibres over the butterfly with tacky glue. I then stamped the butterfly again, fussy cut it out and layered over the stamped butterfly.  Adding a cut out butterfly over a stamped image means I don't have to worry about cutting out those fiddly antennae!  I finished by adding a sentiment and some gems and mat and layered onto a 6x6 card base.


I stamped the  Wish Flower in Memento Ink and coloured with alcohol markers. A beautiful stamp that can be coloured in many ways.

I have stamped Bird of Joy with archival ink onto Kraft card. I then used pencils to colour and added some gems. I layered onto some mirror card and then onto an 8x8 card base.


 I stamped Floral Delight onto some black card and embossed with gold powder. I have coloured the flowers with shimmer paints, beautiful to use - difficult to photograph! I then mat and layered onto some gold card and onto a 7x5 card base.


Thanks for looking

Sandra x

Sunday, 13 March 2022

 Hello everyone.

I am sharing some more of my cards from the February Chocolate Baroque shows on Create and Craft.

For my first card I have stamped one of the flowers from the Glorious stamp set onto black card and embossed in Gold embossing powder. I have then coloured the flower with shimmer paints and added a border from Modern Textures and a Sentiment from Say it Vertically. I have mat and layered onto some gold card and then onto a 7x5 card base.


My next card uses the same floral image which I have stamped twice and fussy cut. I created a background from a master board I made using Distress Inks and On the TilesSquare Bubbles and Large Crackle Background. I cut a piece down to fit onto a 7x5 card base and added the flowers on some foam pads to give some dimension. 
                                            ,

For my next card I stamped the second floral image  from the Glorious stamp set.  I coloured the flower with Distress Inks. Using the left over ink I made two little border strips and added a background using the smaller stamps from the set. I finished by adding gems and die cuts.

For my last card today I stamped the flower from Glorious in Memento Ink. I then coloured in different shades of grey alcohol markers and added corners stamps from Nature Swirls.


 Thanks for looking

Sandra x 

Thursday, 3 March 2022

One Stamp 3 Ways

 Hello everyone, today I am sharing three of my cards from the Chocolate Baroque February shows on The Craft Store which is now known as Create and Craft.


I used the Mosaic Flower stamp set and it is so versatile.
Sentiments are from Say it Vertically

For my first card I have used alcohol markers and coloured some of the Mosaic background in bright, summer colours and left the flowers uncoloured. I have mat and layered onto a 7"x5" card base using coordinating colours of cardstock. Great for a birthday card.

For my second card I have used soft purple markers to colour the flowers and added some green to the background. I found this combination very peaceful and ideal for those difficult cards we have to make sometimes.  I have mat and layered onto a 7"x5" card base.


My last card today is coloured in vibrant reds, which could even be adapted to a Christmas card!

I have made this card 8"x8". By adding just a small amount of detail around the main image it makes a lovely larger card.  Detail stamp is from Modern Textures


Thank you for looking

Sandra x


Tuesday, 22 February 2022

Stamped Images onto Candles

 Hello everyone.

Today, instead of showing a card I'm sharing how to add a stamped image onto a candle.

First, choose your stamps. I have used the two larger poppy seed heads from Sow the Seeds stamp set.


Stamp the image onto some white tissue paper with VersaMark ink and emboss in gold. I am using a white candle, if you are using a different colour candle use tissue paper of that colour. Just bear in mind that it is easier to colour on white!

Once it was embossed I cut around the edge. This doesn't have to be too accurate.

I also embossed the word "Nature" from the same set.

I coloured the stamped tissue with Distress Ink that I put onto my glass mat and spritzed with water. If the colour bleeds a little as it did in mine, just cut up to the embossed line. 

Place the stamped and coloured pieces onto the candle, (you can do the pieces individually) and then wrap some parchment paper or wax paper around and keep it pulled tight around the candle. Use a heat gun or hair dryer to melt the wax and absorb the tissue paper. As soon as you see the tissue disappear move onto the next bit. If you stay in one area too long the wax will start to ripple.

And here is the finished candle. Hope you will give it a go! 


Safety First - these are decorative Items and should not be lit once you have applied the tissue to them.

Thanks for looking

Sandra x

Saturday, 12 February 2022

Pretty Birdcage

Hello everyone. I'm sharing a card I have made using the Pretty Birdcage stamp set by Chocolate Baroque


First I stamped the floral stamp randomly over the card base in purple archival ink.
I then stamped the main image onto some linen textured card with black archival ink.
I used my pencils to colour in.
Once I had finished colouring I used a small pair of scissors to "fussy" cut the stamped image.
I then mat and layered onto white and purple card.
I finished by adding a sentiment and sticking onto my card base with foam pads.


Thanks for looking

Sandra x